Showing posts with label Halloween. Show all posts

Friday, November 1, 2013

"Honey, there is a beaver at the door..."

...and a wood duck dressed as a clown.
 The name's Silas.
Silas P. Beauregard

 
"Trick or treat!?"


 (knock,knock)

"Anybody home? Hello?"
 
"Trick or treat? Smell my feet. Give me something good to eat!"


Twizzlers, score!
 
"I can't reach the doorbell.
Knock, knock..."

 
"Smile for the camera. Say cheese"

 
"And here's a Tootsie Pop for you..."


"Yikes! Get up here Silas. You're a duck, not a chicken."


And then Todd discovered the joy of smashing pumpkins...


Saturday, October 20, 2012

Not So Warm Of A Welcome

My new decoration to scare off unwanted guests. Warning! This has no apparent affect on politicians.
 
 
I wrapped a black "creepy cloth" around a moss covered foam wreath.  A crow wired to the top reminds me of the Alfred Hitchcock movie "The Birds".  The Graphics Fairy provided me with the awesome "BOO" clip art for the banner. In the photos it is difficult to notice the black glitter on the black portions of the banner. The banner is strung on purple ribbon held up by 2 skeleton hands. Good help is so hard to find these days.
 
 
The bottom portion of the wreath is adorned with a bouquet of black roses surrounding a white glittery skull.
 
 
Ta da...


Saturday, October 13, 2012

Upcycled Pumpkins

Two years ago while pouring over the latest issue of Cloth, Paper, Scissors magazine, I came across the instructional article Pumpkin Palooza! Lucky for you all I am a pack rat and keep all of my back issues. As a sidenote I would like to point out that I am fortunate to be married to such a loving, understanding man that supports my creative adventures. 


I quickly beat feet to my local thrift store on a mission to find some discarded plastic pumpkins. Score! I found the kind of pumpkin used for trick or treating with a handle and also a set of 3 light up pumpkins wearing black witch hats. This is a smaller pumpkin from the set of 3.


The main instructions for this project involve the highly messy method of using those rolls of plaster bandage cloth to soak in water and cover the pumpkin. I live in the boondocks so I went with the alternate technique using watered down white glue and strips of newspaper. When gluing down the strips of paper it is best to follow the vertical lines of the pumpkin. I also folded up paper to fill in the triangle areas of the eyes. Use masking tape to hold the eye filler in place before gluing the newspaper strips over top. Let the glue thoroughly dry before painting. On the pumpkin below I cut out circles from cardboard for the eyes. This being my first attempt I must not have filled the eyeholes. Live and learn...


 The inside revealing the newspaper.


My dog True must not think the saying "curiousity killed the cat" applies to canines.
 
 
Here is the largest pumpkin of the light up set.
 
 
I added the jute cord around the base to dress him up a bit.
 
 
Notice these eyes have been painted on... a little older, a little wiser.


Now get out there and find your own plastic decorations to upcycle.
 
 
One last thing. I have had a few people mention they weren't able to comment on my prior posts. If you have had this same issue would you please let me know via email? I have changed some settings again trying to fix this problem.


Monday, October 8, 2012

The house next door

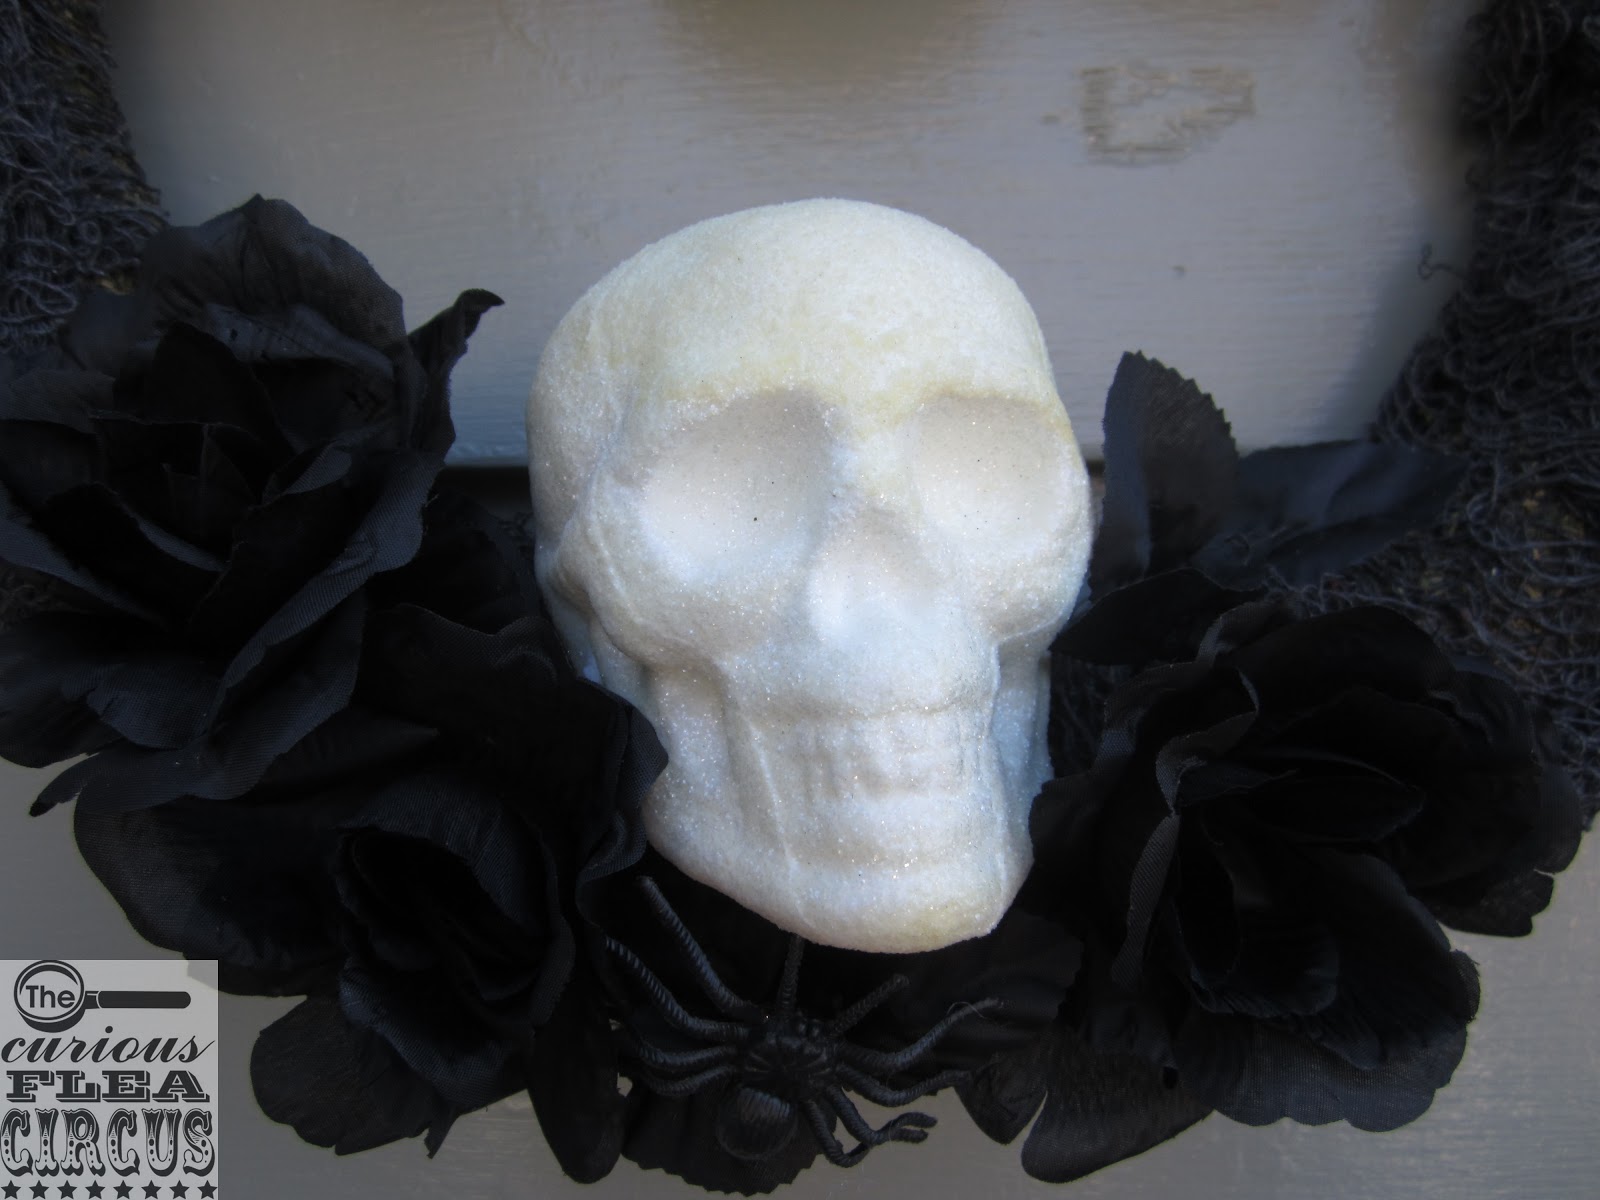
I bought this picture frame along with it's companion about 2 years ago with an idea for transforming it into a Halloween decoration. I have finally made it happen...
 
 
The house was already the green/gray color with touches of gold. I used brown shoe polish to darken the recessed areas which shows off more of the detail. This also helps to camoflage the fact the frame is plastic.
 
 
It's difficult to believe these 2 adorable children could be monsters and thugs, playing with skulls and shrunken heads. Maybe this is the reason they are locked up in the attic? The shrunken head is made from polymer clay, the hair is a piece of painted cottonball.
 
 
This "bad kid" image along with the full moon is from The Graphics Fairy.
 
 
Cold staring eyes searching for victim #14.
 
 
Disillusioned doesn't even begin to cover this young lady's troubled mind and the voices in her head.
 
 
In the dark of night cold, boney hands grabbed her from behind.
 
 
After being left alone at the altar, her heart blackened with insanity.
 
 
Dear sweet Ellen looks as though she couldn't hurt a fly. Looks can be decieving...
 
 
I now need to work on the companion frame to this one. The other house is a little larger, mainly wider, a different architectural style and dark brown.


Monday, September 24, 2012

"Trixie's" Birthday Present

What do you get for the girl who "shits glamour" according to one of her friends?  Why a one of a kind mixed media creation from me, of course.
 
I bought a book by Cher to repurpose into this spell book. The spine was already black and the book cover was a beautiful pumpkin color. I decoupaged some white tissue paper with black polka dots over the cover. Then brushed on green and purple paint and wiped off the excess. A little watered down gesso dulled the look a bit.
 
 
I found all of these awesome images from The Graphics Fairy. Minus the cauldron and type.


I love, love love the paisley paper. Look closley at the skull and crossbones.
 
 
For the "by Trixie & Gypsie" type I attempted a Gel medium transfer. I think it worked pretty well for my first attempt.
 
A skeleton head skeleton key completes the back cover.
 
I presented the gift to "Trixie" last week, she loved it. Today I borrowed it back as I forgot to take photos. I guess I was too excited to remember to take any photos. The inside of the book on Cher is untouched... or is it? Trixie will have a little surprise when the book is returned.